How to Install Landscape Edging!
Share
What is Aluminum Landscape Edging?
Aluminum landscape edging is a popular choice for homeowners and landscapers who want to create clean and defined borders for their gardens, pathways, and flower beds. Made from durable aluminum, this type of edging provides a long-lasting solution that is resistant to rust, rot, and weather damage especially here in Clearwater Florida.
Why Choose Aluminum Landscape Edging?
There are several advantages to using aluminum landscape edging:
- Durability: Aluminum is a strong and sturdy material that can withstand heavy foot traffic, lawnmower impact, and other potential damage.
- Flexibility: Aluminum landscape edging can be easily bent and shaped to fit any curve or angle, allowing for endless design possibilities.
- Low Maintenance: Unlike other types of edging, aluminum requires minimal maintenance. It doesn't need to be painted, stained, or treated to maintain its appearance.
- Professional Look: Aluminum landscape edging provides a clean and polished look to any outdoor space, enhancing the overall aesthetic appeal.
Step-by-Step Installation Guide
Follow these simple steps to install aluminum landscape edging:
Step 1: Prepare the Area
Start by marking the desired border line using stakes and string. Remove any existing grass, plants, or debris from the area to ensure a clean installation.
Step 2: Dig a Trench
Using a shovel or a trenching tool, dig a trench along the marked border line. The trench should be deep enough to accommodate the height of the edging plus an additional inch for stability.
Step 3: Place the Edging
Unroll the aluminum landscape edging and place it into the trench. Make sure the top edge of the edging that is exposed is the same level along the entire boarder.
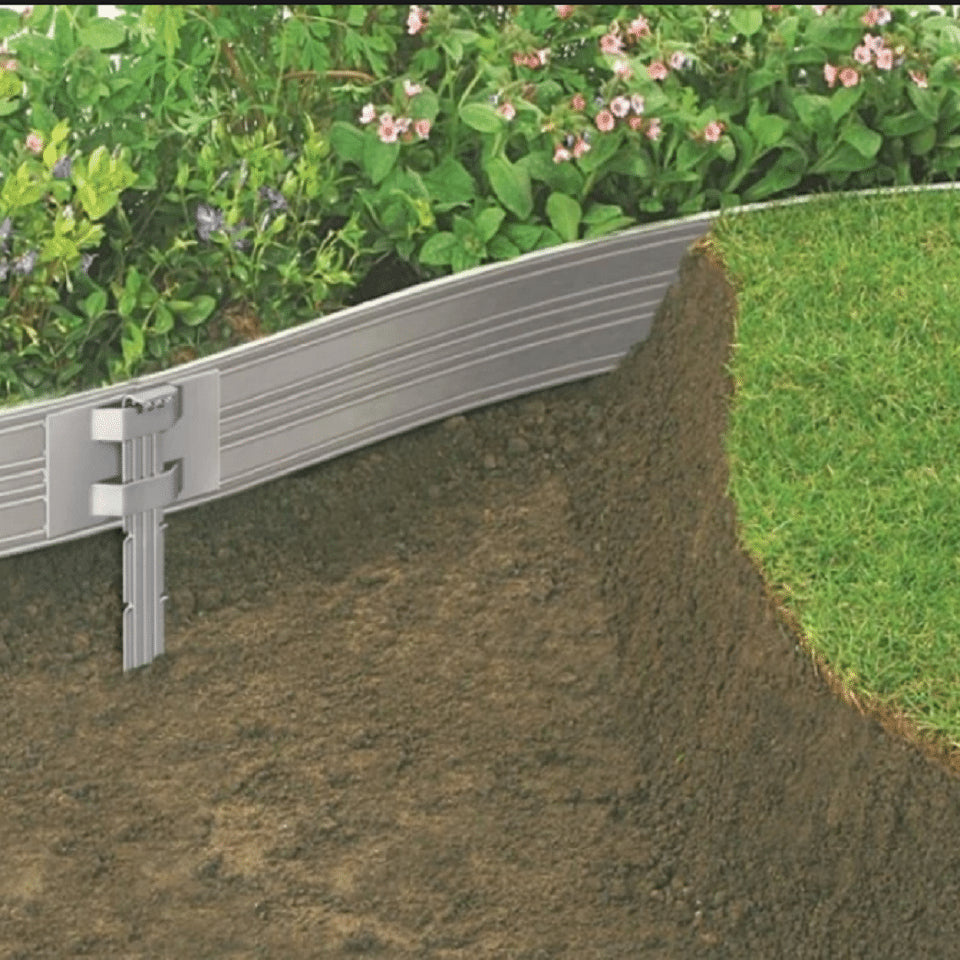
Step 4: Secure the Edging
Using metal stakes or spikes, secure the edging into the ground at regular intervals. This will prevent the edging from shifting or moving over time.
Step 5: Connect the Edging
If your project requires multiple lengths of edging, connect them together using the provided stakes or overlapping them by a few inches. This will create a seamless and continuous border.
Step 6: Backfill the Trench
Fill the trench with soil, packing it firmly against the edging to provide stability and support.
Step 7: Finishing Touches
Smooth out the soil along the edging and water the area to help settle the soil. Trim any excess edging if necessary. Be sure to add weed barrier to prevent weed growth inside the flower beds. Adding Shell or Rock to the flower beds for a clean finish! We have all options of Brown River Rock, White Marble Chip, Tahitian Granite and much more to choose from!
Enjoy Your Beautiful Landscape!
By following these step-by-step instructions, you can easily install aluminum landscape edging and create a professional-looking border for your garden or outdoor space. Enjoy the clean lines and defined edges that aluminum edging provides, and admire the enhanced beauty of your landscape for years to come.